Vue provides great functionality when creating components. One great thing is $emit. You can not only trigger a custom event but you can also send data through it.
This article discusses the use of $emit with the implementation of responsive-image, the result will be similar to the image below:
According to Vuejs.org:
$emit: Trigger an event on the current instance. Any additional arguments will be passed into the listener’s callback function.
Lets implement a responsive image in Vue to utilize the $emit functionality.
Step 1:
Lets start by a clean html template:
Nothing fancy here.
Step 2:
Now lets add Vue goodness to it.
Your result shouldn't look different that the following image:
Step 3:
Let's add a basic code to the application so that it will show our low-resolution image only. I'm calling this component, BetterImage.
As you can notice I've also added other properties like orignalUrl, lowresUrl, biWidth, biHeight for future use.
The naming convention of properties in declaration is camelCase while in HTML, the naming convention is kebab-case.
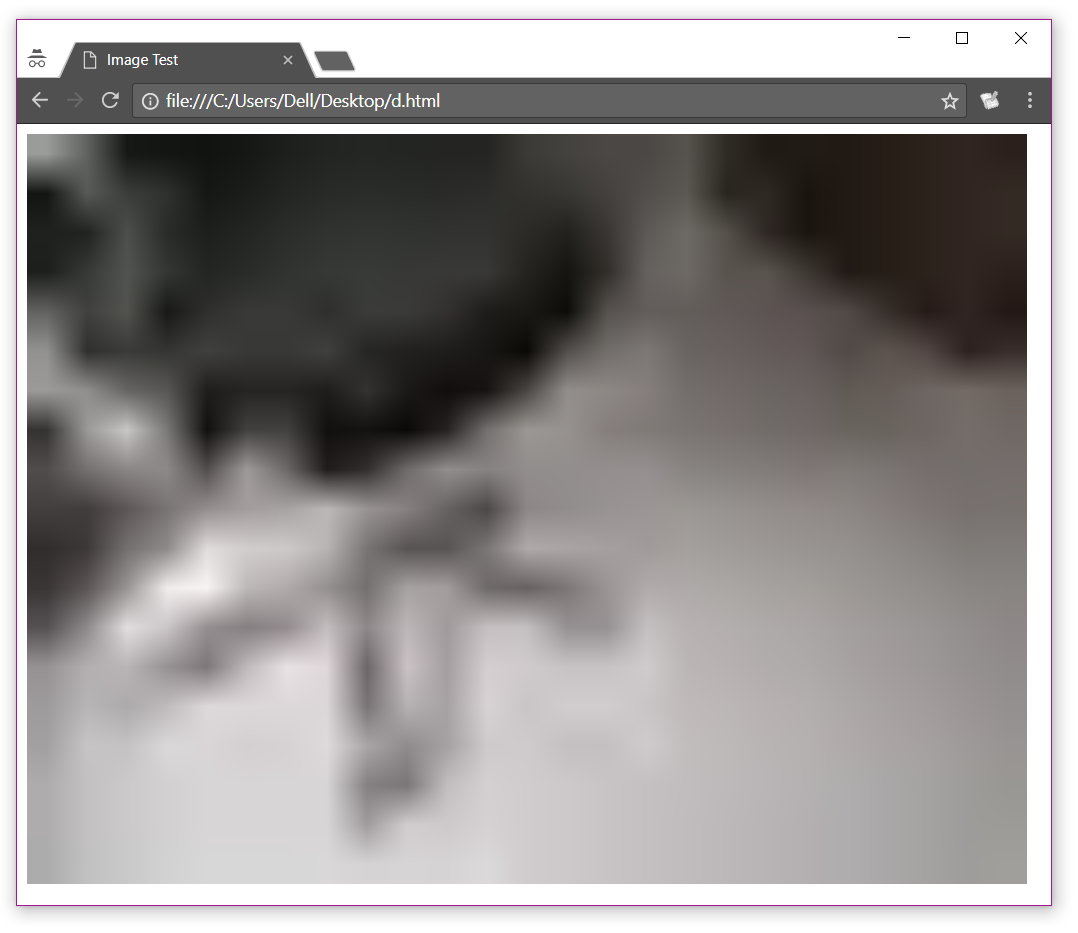
The plan here is that first a low-res image is downloaded, and along-side a high-res image is also downloaded in the background, so that when the high-res image is downloaded, it is then presented with a nice effect.
As the application is loaded, it will retrive a low-res image. It's worth mentioning here that I'm using Cloudinary for this example, it gives you a flexible API for image manipulations so you can request an image with specific operation on demand like this:
Your image will result will look similar to the image below:
Step 3 (Final Step):
Now we have basic functionality, let's add the rest of the code.
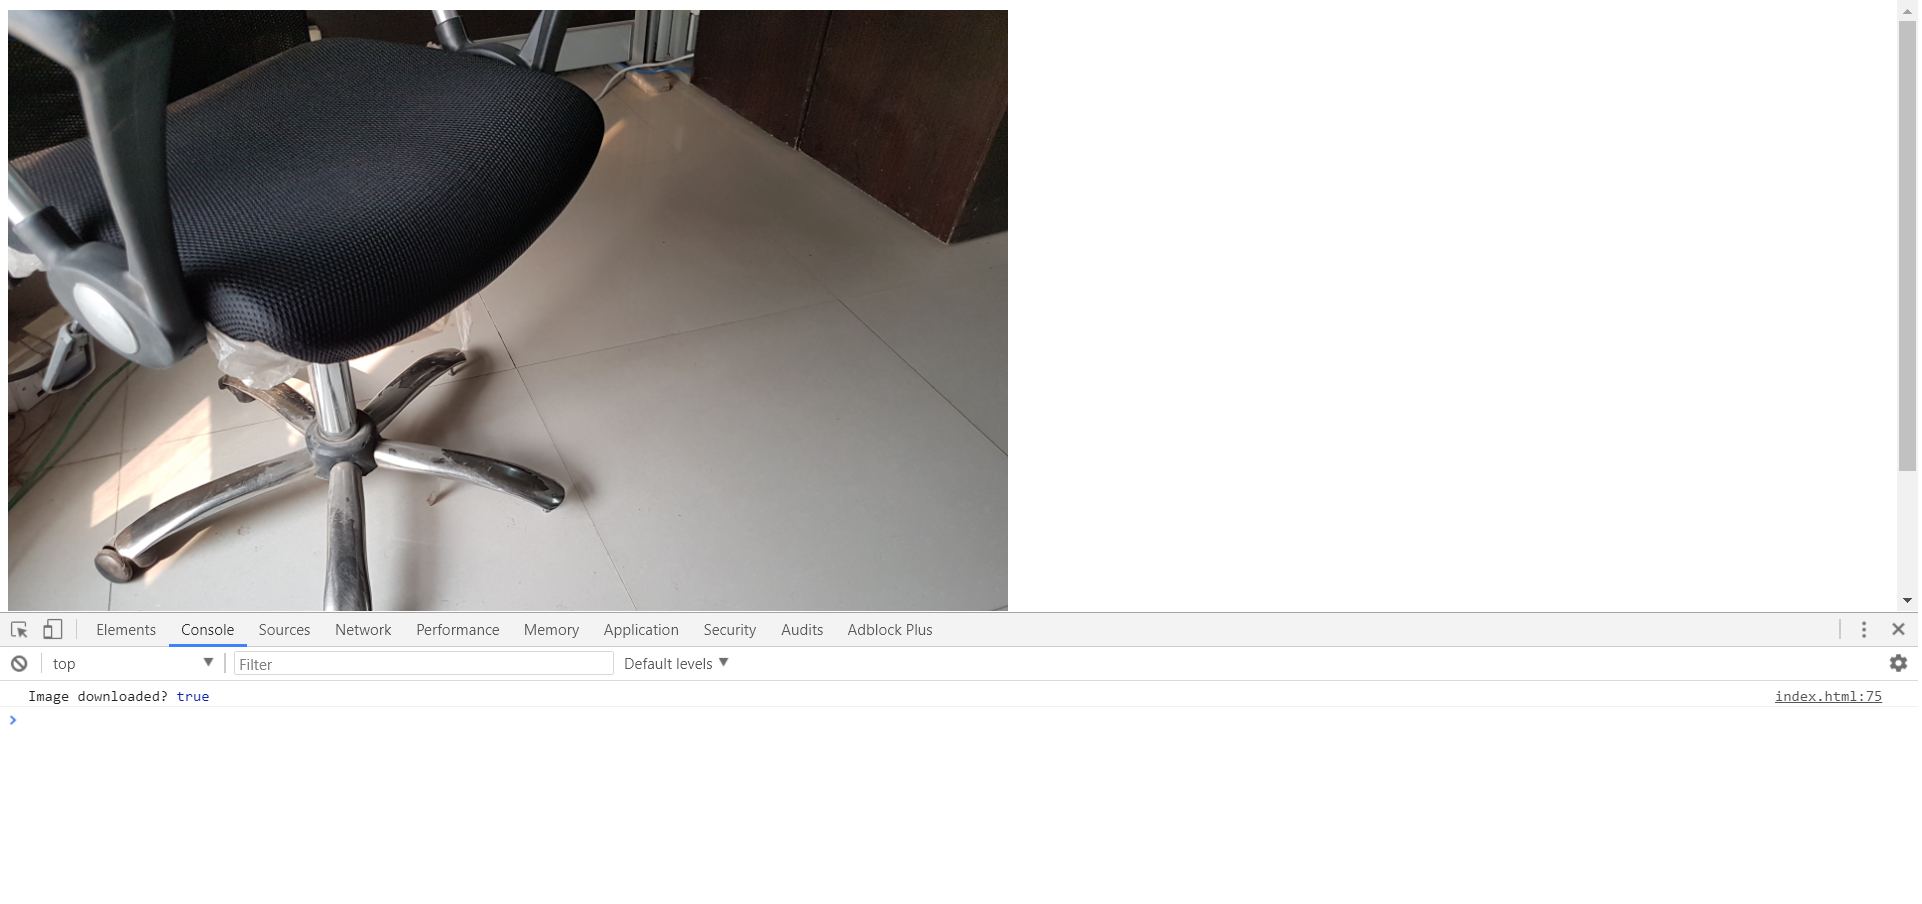
What I want for my image, I want to have an image of low quality to show-up first with a blur and desaturated effect while the orignal high-res image is being downloaded in the background, once it is downloaded, the image will have a transition to a colored image and a de-bluring effect, so let's get right to it:
The code above shows the use of $emit function which trigger an event called downloaded, we have set
Our final product will look somthing similar to this: